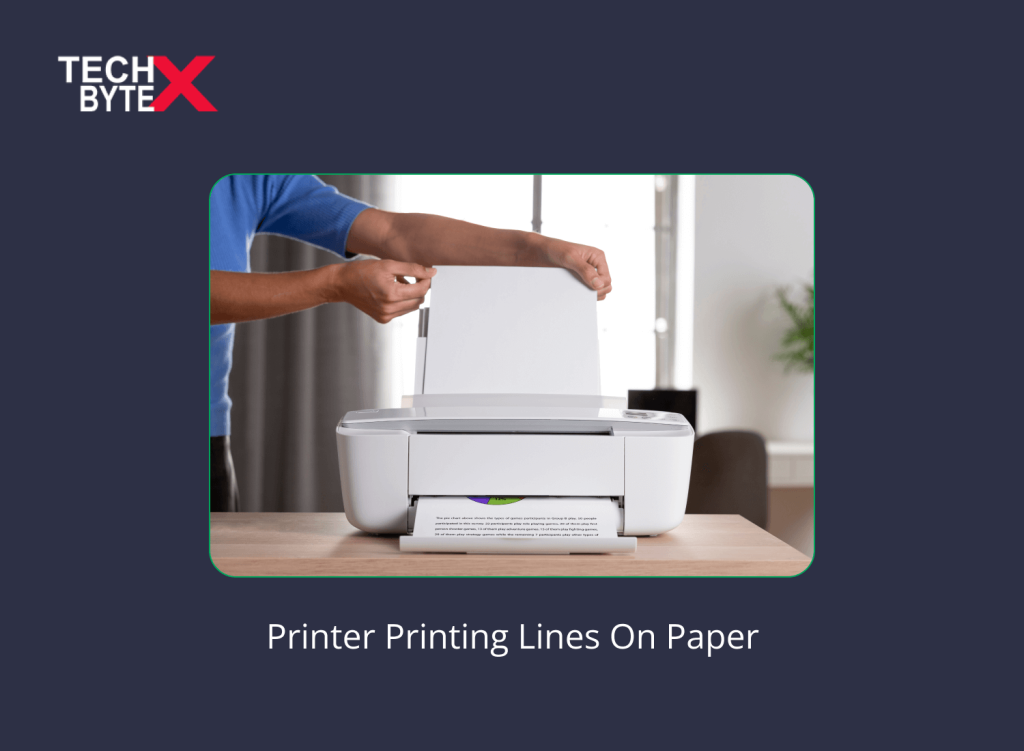
You might wonder sometimes when you see printer printing lines on paper. It becomes extremely annoying especially when you need urgent printouts and encounter missing lines or streaks on your document. This situation is a total mess indeed. If your home or office printer prints lines on paper, it indicates that your printer’s print head is blocked or damaged. Just visualize the scenario when your boss is asking for important printouts and your printer delivers a document with shading issues and lines in paper. This article is written specifically to address the frustration associated with your printer printing lines on paper.
If you have also experienced or are still going through this printing struggle and want a clean document with no lines and shading on print jobs, just keep reading to learn what to do and how to do it. Now, no more yells of, “Why my printer is not working as intended?” or “Why does my print have ugly lines?”
Here, you will explore how to fix the printer printing lines problem.
What are the Potential Reasons for the Printer Printing Lines?
Here are the potential triggers that can cause for the printer printing lines:
- Most of the time, paper lines on your print job are due to issues with the print cartridge, so it is a good idea to thoroughly check the imaging Drum and the toner
- There might be blocked ink in the cartridge nozzles
- Incorrectly removing the protective during the installation of a new ink cartridge could lead to printing lines
- There might be dirt clogged in the print head, causing lines or shading on the document
- Users often ask, “Why is my printer printing blurry?” The answer lies in cartridge ink blockages causing smudges and blurry prints
How to Fix the Printer Printing Lines on Paper Issue?
Here are some of the best workarounds to fix the printer printing lines on your document:
1- The Straightforward Approach to Fixing the Glitch
A straightforward way to fix this issue is when you are quite sure that the actual culprit is the print cartridge. Here is how you can check it:
- Pull out the print cartridge
- Examine the imaging drum of the print cartridge for any lines, if you can see a line there, the print cartridge is responsible for printing lines
- Replace it with a new cartridge
- Properly install the print cartridge in the printer
- Print a test document and check if the issue is resolved or not
What Should You Do if This Doesn’t Work?
If replacing the print cartridge does not work, there might be a bigger issue with your printer. In this scenario, visiting your local print service technician might be your best bet. There might be some complex technical glitches in your printer, and seeking professional assistance can extend your equipment’s life.
2- Run the Cleanliness Process
Here are the instructions for doing it:
- Access the LCD panel of your printer
- Go to settings
- Select the “clean print head” or “clean cartridge option”
- Choose and run the “cartridge alignment option”, this will fix any color alignment issues
Alternatively, use a PC to perform the process:
- On your PC select the control panel
- Then, go to Devices & Printers
- Right-click the printer
- Select ‘Printing Properties’
- Run the cleanliness process
Repeat the cleanliness process up to 3 times to see results. However, if it does not work switch to the next methods
3- Removing the Blocked Cartridges
Here is how you can perform the process:
- Print a test page to identify the blocked color
- Open the door of your printer
- Remove the blocked cartridge(s)
- Softly wipe away any dirt particles or ink blobs from the nozzles using a damp paper towel
- Thoroughly clean the cartridge from the back or at the bottom
- Place the cartridge on top of a damp paper towel along with the nozzle or print head touching the damp part until the ink flows out a little
- Reinstall the ink cartridges
- Now, check the printing on the paper
4- Clean the Ink Cartridge Holder and or Print Head
Sometimes you need to clean the Canon print head to resolve printing issues because fluff or dirt can block the ink cartridge holder where the print heads are placed.
Here is how you can do it:
- Access the ink cartridges in your printer
- Remove the ink cartridges from the cartridge holder
- Softly wipe the underside of the ink holder using a dampened cotton swab, ensuring complete ink removal from the print head
- Re-install the ink cartridges
- Now, try printing again on a paper
If cleaning the ink cartridge holder does not resolve the printing lines issue, consider replacing the ink cartridges.
5- Shaking the Print Cartridge
This is more of a proactive measure than a troubleshooting method, but it can help you avoid printing lines and other printing anxieties. A bit of gentle shaking of the print cartridge before placing it into your printer can help you avoid printing problems such as printing lines. Make sure that the shaking of the print cartridge is done before installation.
6- Replace Outdated Inkjet Drivers
Despite printing lines, if your printer is printing “gibberish”, there is a reason it’s responding this way. Gibberish means printouts showing strange symbols, or characters, or appearing in a strange format. The cause of this issue might be outdated, damaged drivers, or incompatible drivers with your operating system. The resolve this type of printing problem, reinstall your printer driver to restore convenience and functionality.
7- Align your Printer Heads
If your printouts have streaks and unwanted lines, it indicates that the printer heads are out of alignment. You may require an alignment tool integrated into the printer’s control panel. Alternatively, the issue could be your printer is dirty. In this case, gently clean your printer following the basic cleaning instructions.
8- Ensure Printer Cables are Properly Connected
If your printer is awkwardly behaving, there might be a reason it has lost its connection. Ensure that your printer is properly turned on and all the cables are tightly connected.
Here are the important considerations you should keep in mind:
- Access the control panel
- Select the printer and set it as the default
- If there is no connection, right-click on the printer icon
- Select “Properties”
- Click on “Details”
- Ensure that the correct port is checked off
- Double-click on the printer icon
- This will display a current list of printing jobs
- Cancel those jobs
- Try to print again
It is significant to note, that if you are currently using a USB port for the connection, try another port instead.
9- Other Fixes to Resolve Printer Error
Here are some other fixes you can try to resolve the printing lines problem:
- Use the correct paper type (inkjet printer requires inkjet paper)
- Make sure that protective seals are correctly and completely removed
- Verify that print head nozzles are not clogged
- Confirm that the paper-type setting supports the type of paper you are using for printing
- Make sure that you have placed the printable side of the paper in your printer
- To avoid printing issues, turn off high-speed settings in your printer
- Make sure that you have aligned the print head
- If you have started using your printer after a long period of inactivity, running the Power Cleaning utility can resolve printing issues
How to Fix a Laser Printer Printing Lines on the Printout?
If your laser printer is producing printouts with missing print, missing lines, or printing lines, don’t worry; you can fix it. In most cases, the reason is the damaged print toner, drum unit, or fuser unit.
Follow these steps to fix this issue:
- Go to the “Print Settings” or “Maintenance Section”
- Access the printer menu, and run the drum/fuser cleaning process
- If possible, Run the general clean process.
- Remove the toners/drums (a green metal cylinder)
- Physically check the drum cylinder thoroughly to find any dirt or damage; ensure you do not touch it
- If you notice that the drum is damaged or dirty, clean it using an air duster
- Alternatively, replace the drum and the fuser unit in the page printer with new ones
- Re-install the toner/drums
- Try printing again
How Can You Access the Performance of Your Printer?
To determine whether your printer is meeting its performance standards, a straightforward test can provide the answer. The Color print test page is a simple and effective technique to evaluate your printer’s performance. You can judge your printer’s performance based on the color/image quality and the clarity of text.
Frequently Asked Questions
Here are a few frequently asked questions regarding printing errors. Take a look, as they can help you identify your issue along with a relevant fix.
Why is my HP printer printing blank pages?
If you are using printers such as HP or Epson and are wondering why your HP or Epson printer printing blank pages, there might be a few reasons causing this issue:
- Empty ink or toner Cartridges
- Link cartridges are dislodged
- You are using the wrong paper size
Why is my printer printing lines?
Just go through the article precisely to know the reasons and fixes for your printer printing lines on paper.
The Final Takeaways
Hopefully, this article has assisted you in identifying the reason for the printer printing lines on paper. TECHBYTEX provides useful information to address the issue of printing lines on paper. The primary issue might be blocked cartridge nozzles or print heads with dirt, fluff, or dried ink inside the cartridge holder. All the solutions provided above are effective, convenient, and functional, and can help you resolve the frustration.


